Bouncing Sunlight
- Lesson Plan
- Video
- Feedback Form
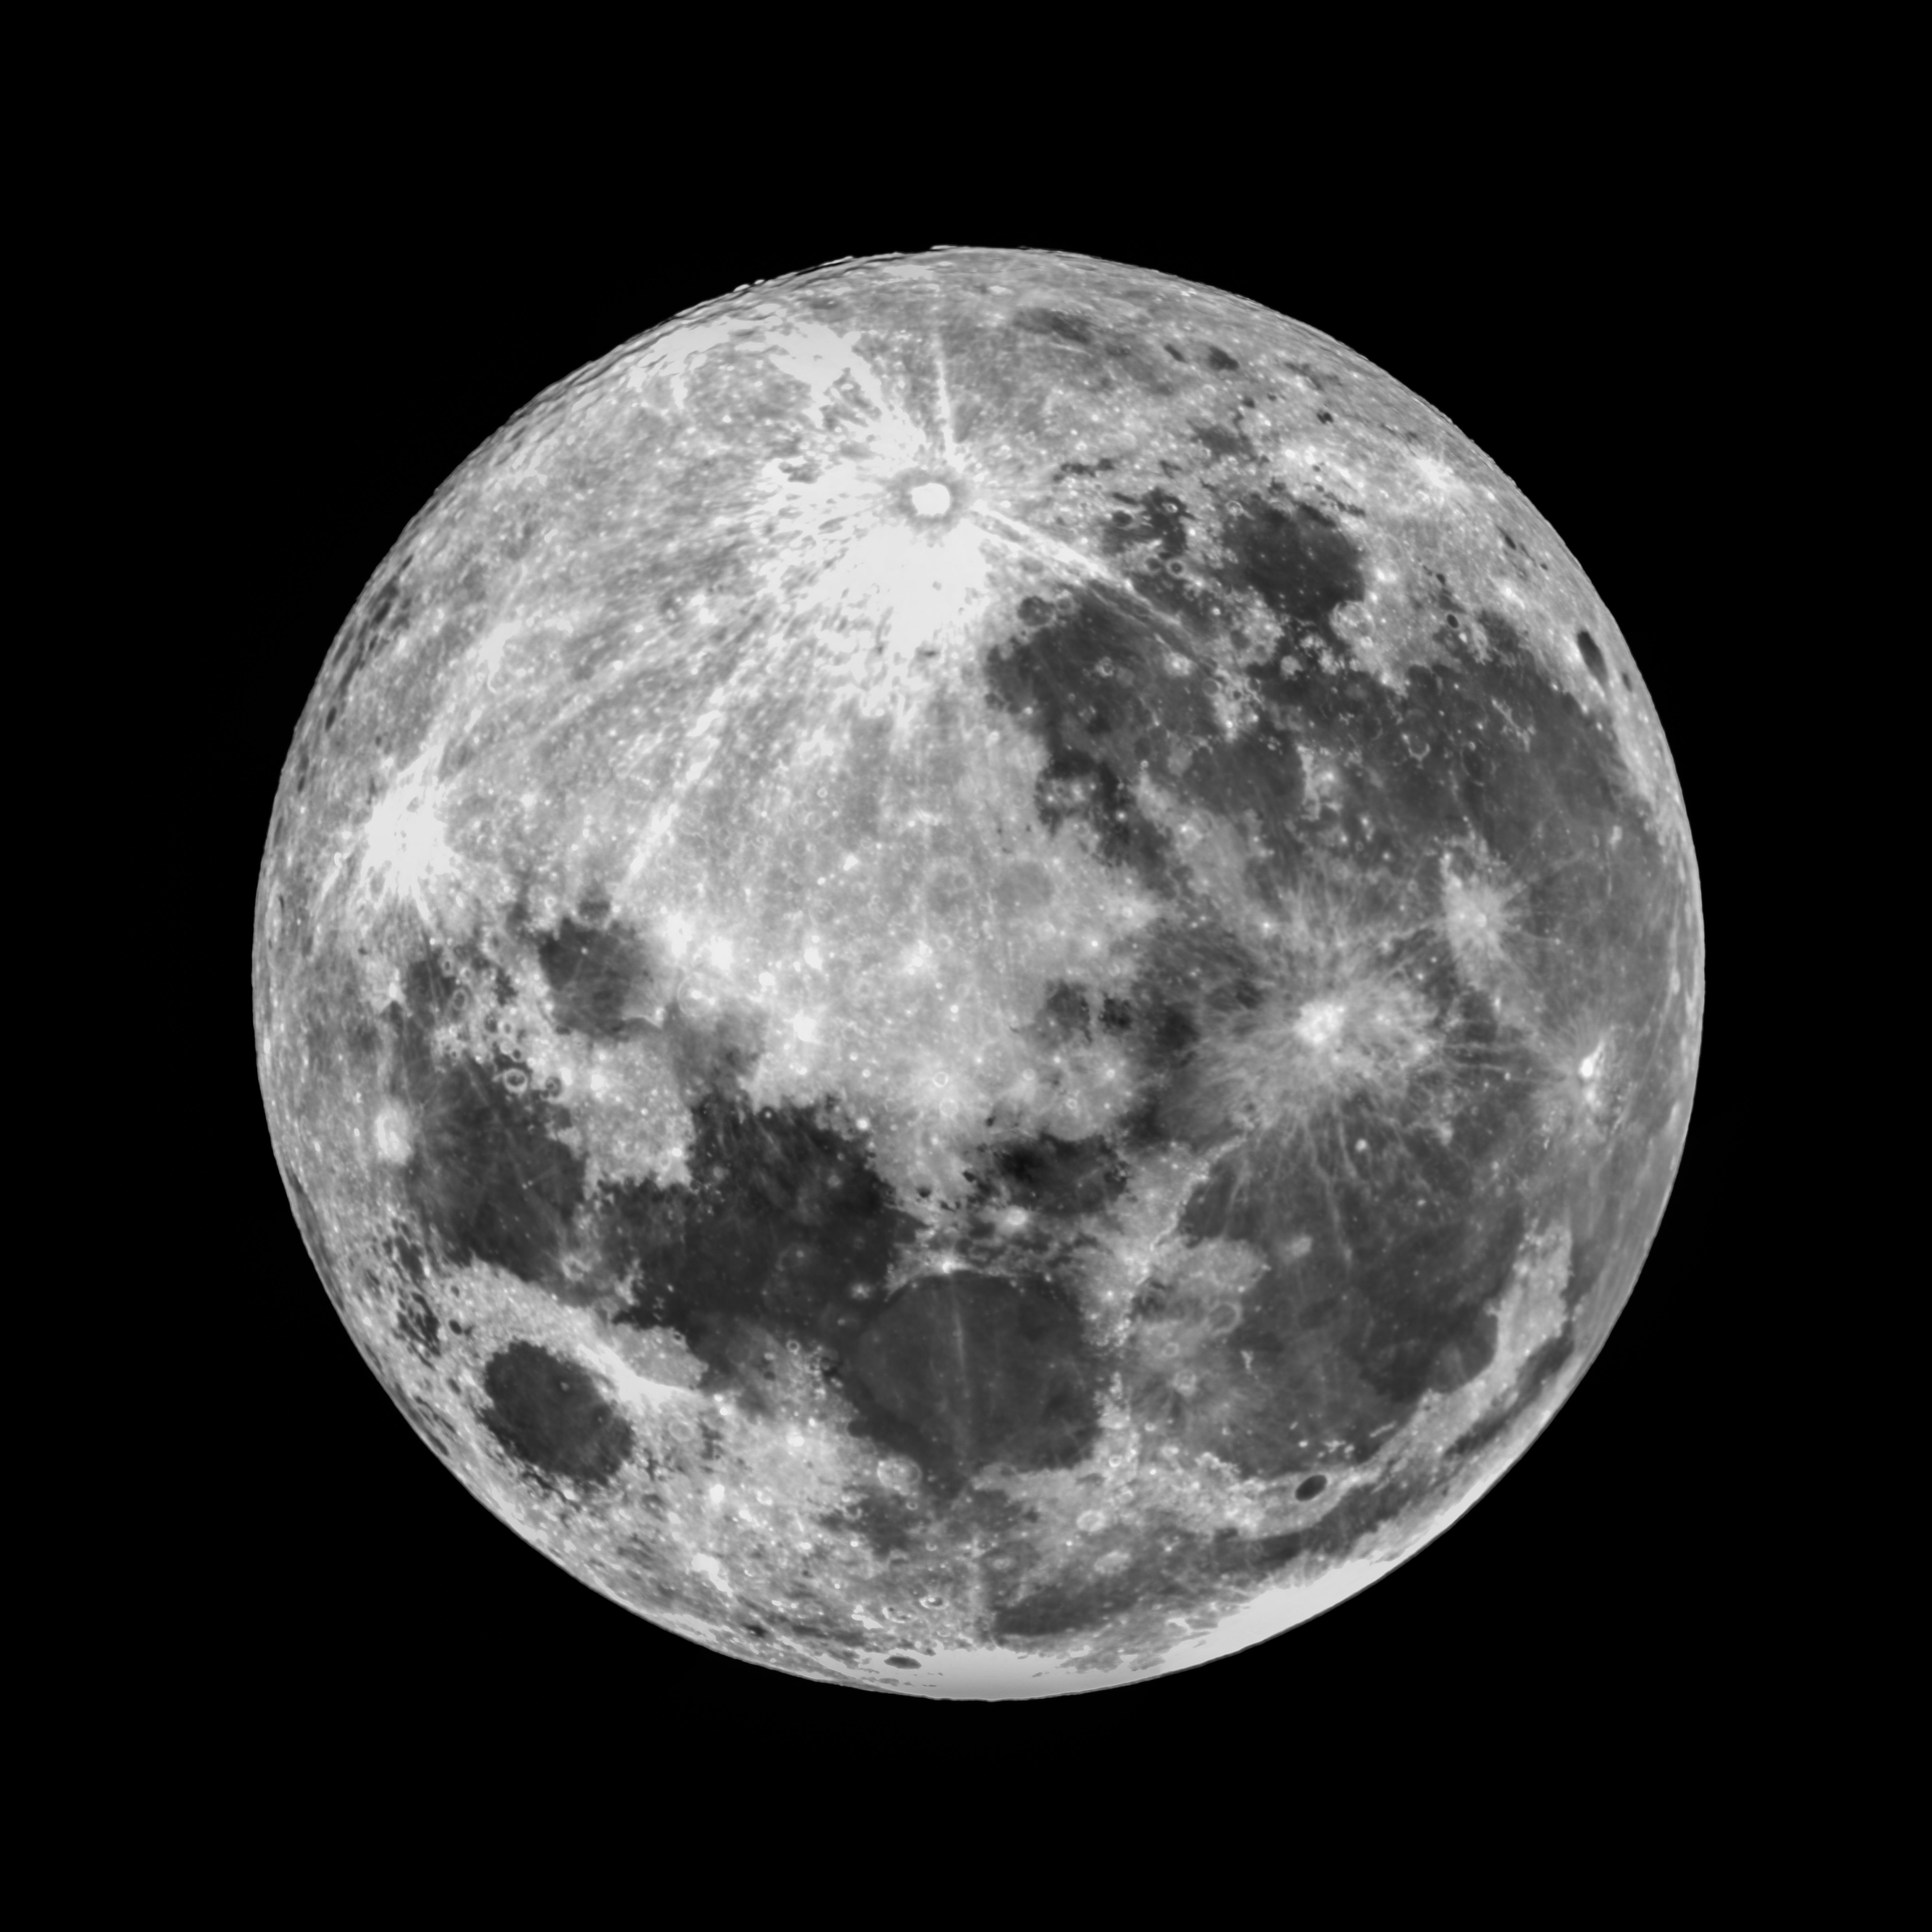
Young children love the moon! But, why does it light up our night time sky? Explore how the moon uses the sun’s light to create the beautiful object we know and love.
1-ESS1-1
Use observations of the sun, moon, and stars to describe patterns.
1-PS4-2
Make observations to construct an evidence-based account that objects in darkness can be seen only when illuminated.
1-PS4-3
Plan and conduct an investigation to determine the effect of placing objects made with different materials in the path light.
Materials
- An orange, or ball that size (per group)
- Piece of foil that is big enough to cover each orange
- Flashlight (per group)
- Science journals, or a pencil and paper (per student)
- Lab Sheet for older grades
- Materials to build a model Earth if you are doing the extension activity
Do Ahead
- This activity requires a dark room. Prepare your darkened classroom ahead of time.
Directions
- Divide students into small groups (3-4 students). Have all materials ready.
- Review with students the concept that the earth and the moon are spherical. Remind them that the light that warms the earth and gives us daylight comes from the sun.
- Discuss the importance of "models" and what they are. Tell students that today groups will be using the orange as a model of the moon to explain where the moon gets its light. The flashlight will be a model of the sun. Pose the question that the groups will be investigating and write it on the board: Where does the moon get its source of light?
- Pass out materials to each group. Have each group cover their orange or ball with foil. They can make it bumpy and with craters to look like the surface of the moon. Have them place it in the middle of a desk.
- Turn off lights. Have each group discuss any observations they make. Does the moon shine? Why or why not?
- Turn on lights and have students discuss their observations.
- Now turn the lights off once again, and have each group turn on their flashlight and shine it on the moon. Remind them the flashlight represents a model of the sun. Each group should discuss what they observe together. Does their moon look bright now? Does the sun light the moon? How does this take place?
- Turn the light back on and have students discuss or record observations. Based on their findings, what conclusions can they reach to answer the original question? Were their predictions correct?
- Discuss what occurs when the sunlight hits the surface of the moon. When students describe what they see, help them understand that when sunlight bounces off the surface of something, it is called a reflection.
Extension for older grades
Have your students experiment with creating the phases of the moon on their model. As a group have them engineer an Earth model. Give them parameters for their investigation- they can make a 2D or 3D model based upon your available supplies.
Have them investigate with the flashlight and moon model how to create a crescent and half moon. Describe this to students as an engineering challenge. They may need to change the size of the Earth model they make to succeed or change the distances between objects.
Discuss as a class what groups came up with for their Earth model and how they succeeded in creating shadows on their moon.
| Attachment | Size |
|---|---|
| 199.1 KB | |
| 20.18 KB |
Learn more about the moon with this video you can use as an introduction or conclusion.
This is a great video for younger kids, but use it after the activity is finished.
This video has great Lunar information for older students.

